How to Install a Pool Cover in 6 Simple Steps (Installation Tips)
A backyard swimming pool can add hours of endless uninterrupted fun to a home. But without the right safety precautions in place, the fun can come to a screeching halt fast. That’s where learning how to install a pool cover comes in handy.
Having the right safety cover can protect against accidental falls, drownings, and unnecessary debris from entering your pool. And with more than 55% of the U.S. adult population having never taken a swimming lesson, according to the Center for Disease Control (CDC), you’ll want to know how to keep your loved ones safe with a pool safety cover.
We’re Kayden Manufacturing, a pool liner and safety cover manufacturer based out of Paterson, NJ. We’ve been in the business for more than 30 years.
It’s true: we’ve seen a thing or two in our time designing and building vinyl liners, pool accessories, steps, water storage units, and industrial solutions.
If you’re wondering how to install a pool cover, you’ve come to the right place. In this easy-to-follow pool cover installation guide, we’ll explore some of the basics behind installing a pool safety cover, including:
- The importance of pool safety covers
- Different types of pool safety covers
- The six steps for installing a pool safety cover
- A step-by-step breakdown of installing a pool safety cover
- Frequently asked questions about how to install a pool safety cover
How to install a pool cover (6 steps)
|
The importance of pool safety covers
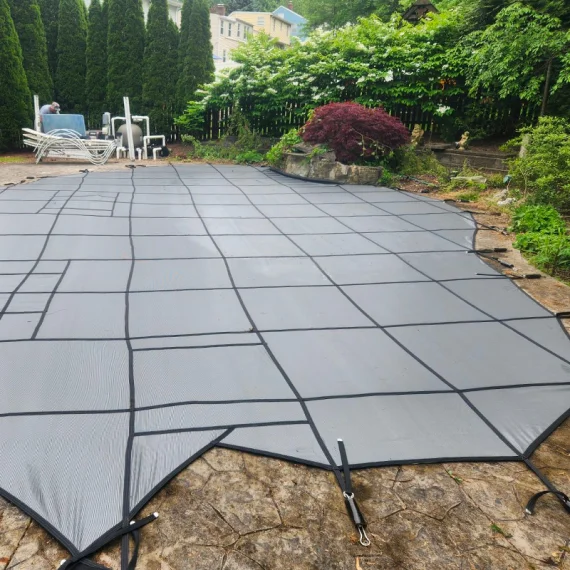
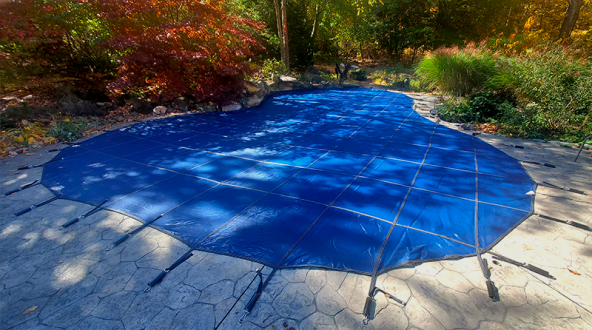
A pool safety cover creates a physical barrier between a pool and the deck. Aside from preventing children and pets from falling into a pool, did you know that a safety cover can also help keep vinyl liner pools clean?
Pool safety covers can help prevent leaves, debris, and other hazardous material from entering a pool. The added barrier on top of the pool can save you time and money in maintenance.
Best of all safety covers help protect pools from the cold-off season months by retaining the heat inside the pool.
The three main types of safety pool covers
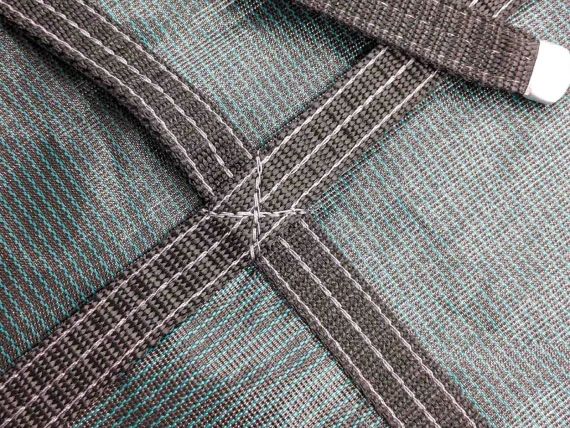
You may be wondering what exactly constitutes a safety pool cover. We’re not talking about a tarp you can buy from your local hardware store.
Safety pool covers come in three different types:
- Mesh safety covers
- Solid safety covers
- Automatic safety covers
Mesh safety covers explained
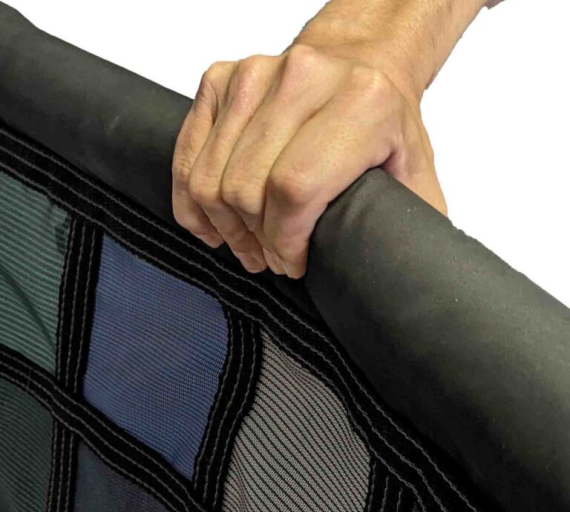
These durable, breathable covers are made with mesh (that may have been obvious, though), and they allow rainwater to pass through into a pool. At the same time, the mesh keeps debris out.
They’re a bit less expensive than solid covers and are easier to install and remove. The tradeoff is that they don’t protect against sunlight or water evaporation to the same extent as the other covers on this list.
As such, you’ll likely have to spend more time on maintenance with a mesh safety cover.
Solid safety covers explained
In contrast to mesh safety covers, solid safety covers are made with, well, a solid material. They block out sunlight and prevent water evaporation.
With this added protection, safety covers tend to be more expensive than mesh covers. With added protection, weight, and installation times, these covers provide better protection against debris and sunlight.
The result? A cleaner, longer-lasting pool liner and pool.
Automatic safety pool covers
Automatic safety pool covers retract and close with the push of a button. These convenient covers are easy to use and can be custom fitted to any pool.
With added technology comes higher costs and increased maintenance. Just in case anything goes awry with the installation process of an automatic safety pool cover (or any cover, for that matter), ensure you choose a pool installation company with solid customer service that can answer urgent questions.
Getting started: the right tools for safety cover installation
Now that we have an understanding of the different types of pool covers, it’s time to get started. First though, we’ll need the right tools.
Before installing a safety cover, homeowners will want to remove any accessories or moving parts from the pool. For example, removing ladders, diving boards, floating chlorinators, and other pool accessories will make for a smoother installation process.
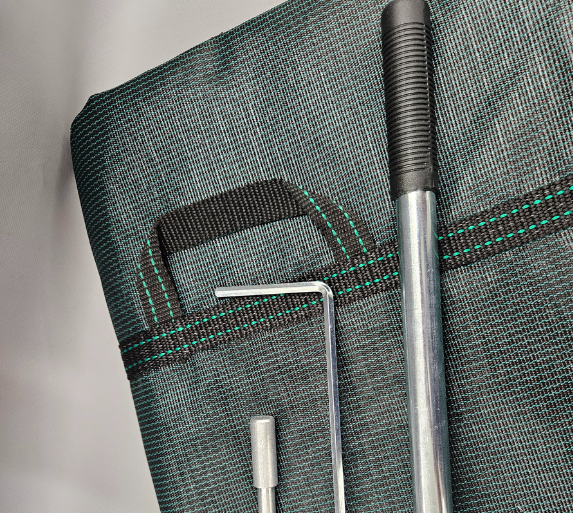
The tools you’ll want to use include:
- Safety goggles
- A metal tape measure
- A heavy-duty hammer drill and hammer
- Chalk (for marking up your pool)
- ¼” Allen-wrench key
- ¾” concrete drill bit
- ⅞” drill bit for installing bricks
Dealers and homeowners: always read the manufacturer’s instructions carefully. We’re not just saying that because we’re manufacturers.
Reading through the manual will save you a ton of time, stress, and hassle when installing a pool cover. Once you have your tools, you’re ready for installation.
Installing a safety pool cover in six simple steps
Now that you have all the tools needed in your tool kit, you’re ready to install the safety cover over the pool. Here are the six steps to installing a safety pool cover. We’ll discuss each at greater length in the next sections.
- Clean the pool’s deck
- Drape the safety cover over the swimming pool
- Prepare for deck drilling
- Install the anchors for the safety cover
- Attach the springs to the cover straps
- Test drive the cover
1. Clean the pool’s deck
First, clean the pool deck and remove any equipment, pool accessories, or debris from the pool. Doing so will ensure a smoother installation process.
2. Drape the safety cover over the swimming pool
Unroll the safety cover, and drape it across the pool with the protective rub strips facing down. Next, adjust the position of the cover, and make sure that the pool cover fits around the entire pool.
Step two is crucial, as you’ll want a snug fit around the pool. You can secure the pool cover over the pool deck by placing heavy objects — like buckets of water — over the edges of the pool cover to keep the cover in place.
3. Prepare for deck drilling
With the safety cover in place, mark where you plan to drill each anchor hole. Using chalk will help guide you as you drill into the pool deck.
Once you’ve marked up where you’ll install the anchors, you can move to step four.
4. Install the anchors for the safety cover
This part can be a bit tricky. First, select the longest strap, and place it end to end down the middle of the pool safety cover.
Measure four inches back from the end of the strap and drill a hole in the pool deck about 1.5 inches deep into the pool deck. Make sure to clean out any debris or dust that might fall in the hole.
Next, anchor in the anchor, and hammer it down into place. Lastly, screw the brass insert into the anchor, leaving a little less than half an inch above the deck surface.
Follow the above-mentioned process each time you install another anchor around your pool.
5. Attach the springs to the cover straps
You’ll need springs to help keep your cover straps in place. When installing strap springs, ensure the edges of the adjustment buckles face downward.
Feed the strap up through the first slot of the adjustment buckle, then down through the center slot. After feeding the strap through, loop the strap through the square end of the spring, and then loop it back up through the center slot.
You’ll finish by sending the end of the strap through the opening in the buckle; finally, attach the spring to the anchor.
After you’ve completed this process, make sure to repeat it on the other end of the middle strap. Once both ends of the middle strap are in place, you can move on to the other straps on either side of the middle strap.
Next, repeat the above-mentioned process on the longest strap across the width of the cover, making sure to follow the process for the two straps on the sides.
Once the straps are in place, you can follow this process with the remaining straps.
6. Test drive the cover
Less of a step than a confirmation of your work, testing that the cover works ensures that your pool cover functions as intended. You may need to fill the pool with more water to test whether the cover holds tension.
To make water storage and filling easier, using a water storage unit — such as a Pool Bladder™ — can come in handy during this process. You can learn more about the benefits of a Pool Bladder™ here.
Pro tip:
Before winter starts, make it a goal to check on your safety cover for rips and tears. Doing so will protect your family during the off-season.
Kayden Manufacturing: America’s vinyl liner manufacturer for new pools
Homeowners and/or pool dealers: need help installing a pool cover? Want a professional to give you a pair of helping hands?
If ever you feel you need help with the safety cover installation process, you can always call one of the knowledgeable and resourceful customer service representatives at Kayden Manufacturing. After all, we’re just nice people making nice liners and safety pool covers.
For more information about our pool safety covers, liners, and accessories, get in contact with us. We’d be happy to help!
P.S. – So, you actually read through this whole blog. And, we must apologize profusely for how nonsensical it may have seemed at times. But, you’re actually amazing.
You should really click on the link below and talk to us, because we’ll share just what you’re looking for in our time together. Thanks for reading. We just like to keep you on your toes.
More Helpful Content for You
10 Simple Pool Liner Cleaning/Care Tips to Keep Pool Liners Clean
A pool liner can last anywhere from five to 20…
6 Benefits of Being a Kayden Dealer
In the world of pool building and renovation, the products…
A Quick and Comprehensive Guide to How to Clean a Pool Cover
Keeping a pool maintained and serviced is a no-brainer. But,…

